Wednesday, September 26, 2012

Whitework Wednesday

         Whitework Wednesday

***When I get to 100 followers, I will hold a drawing for a Free Rechargable Ott Light!  Start following me today!**

 Whitework Wednesday is here again and I have some more goodies for you! I am going to start with my first trip to Madeira.


     A view of a hill in Madeira.  If you ever get the chance - GO!  It is beautiful!  Madeira is an island about 300 miles or so off the coast of Portugal.  It is in a cluster of 3 islands,with Madeira being the largerst.  It is very mountainous - you can see here how steep it is.  The farmers carve out 'shelves' in the side of the mountain to farm - they are about 10m x 10m.  This helps to keep the soil from washing away.


     I read an add in Creative Needle about a trip to Madeira, led by Julia Golson.  I showed it to my husband and he said where do you sign up?  I had lots of friends help with carpool, etc., as I had all 4 of our kids by then, and Emma had just turned 1, but it was wonderful!  This is our group, and the 4 women sitting in the front were the embroideresses that worked at the factory that were our teachers.


     We had our lessons at the Imperial Bordados Factory in Funchal, which is the main city on the island of Madeira.  We were each given a hand towel that had been embroidered with the Imperial crest - it is amazing!  The women that taught us were considered the best of the best.  They worked in the factory and cleaned up any of the embroidered peices that came in and had to be 'touched up'.


This is the entrance of the Imperial.  There was a factory store on the first floor; we climbed the stairs every day to the 2nd floor where the work was done!


These are our teachers (and this was at the end of our stay), but this picture was taken in the store on the first floor.  You can see the tables set with the linens as displays.  There are displays on the walls - one of the displays is a replia of the tablecloth that was embroidered for Princess Grace of Monocco (have not found the picture yet).
     (My one big regret is that digital cameras were not the thing yet!  Had not heard of them on the first trip, and by the time the 2nd trip rolled around, you knew what they were, but they were extravagantly expensive - $1000 for a 2Mpixel camera, and you had to keep buying disks to store the pictures - each disk held about 100 photos.  My how technolgy has changed)!


     When we walked into this room, it looked like an architects storage room!


     There was a sea of what looked like blueprints, but were in actuallity, design prints for the embroidery.


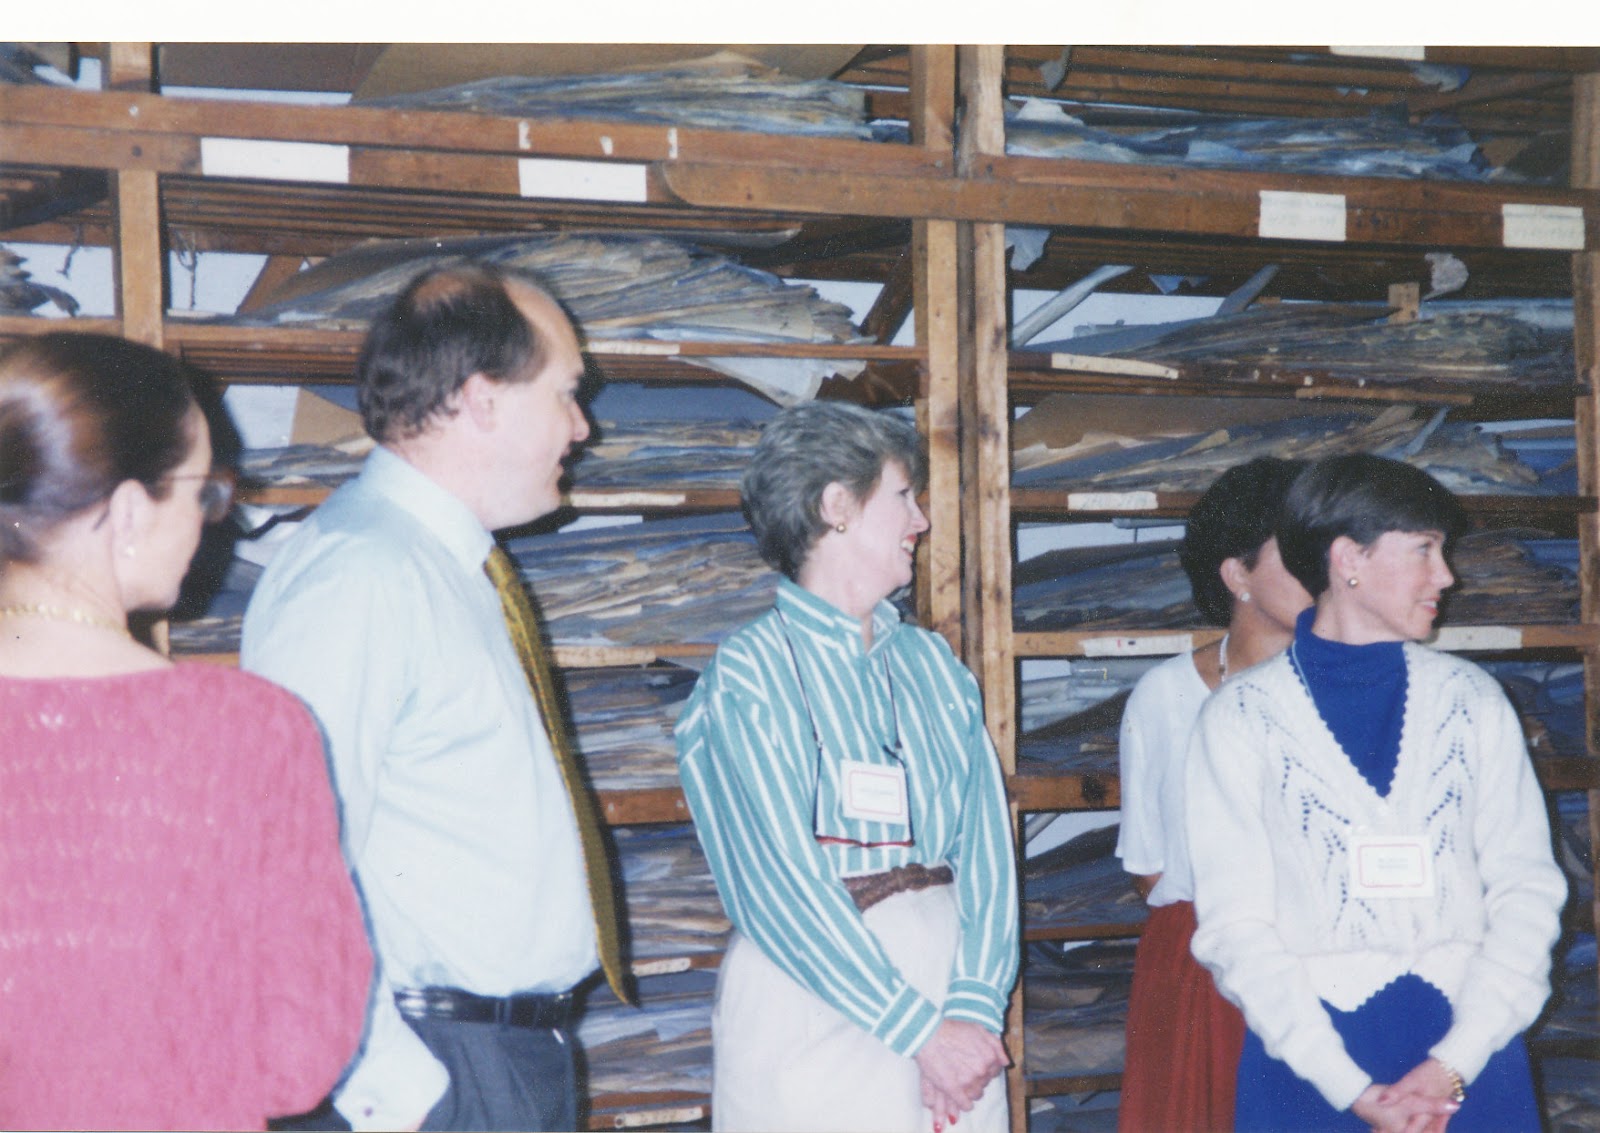
Many of the prints had not been used in a long time.  In this picture, you can see the designs are flat - these designs are in a type of a book that the customer could look through and choose the design of his/her choice.  The rolled designs had alredy been used and the paper was rolled up after the design had been transferred.


     You can see a page in one of the design books here.


     Once a design was chosen, it had to be traced on to the paper.  Once it was on the paper, the design was traced with this little measuring wheel.


     It is about 5 inches long and looks like a mini surveyors wheel.  It measures the distance of the embroidery (cutwork or pinstitch, for example).  This is used to calculate the price that is paid to the embroideresses.  They know how many stitches are taken per cm, and that is how they figure out the labot cost.  Even thought the rate is changed (and it is still very low), this is the same the labor costs were figured out when this industry started, over 100 years ago.


     Once the design is traced, it is taken to a machine that looks like an unthreaded sewing machine.  The design is run under the machine, which pricks holes all along the design.  Then it is taken to the next station and a pounce ball is used to mark the design on the linen.  The pounce is blue, and once it is marked, the fabric looks like a blueprint!


     In the early days, the designs were carved onto little beads, like these.


     The beads were attached to rollers on this machine and the fabric was marked as it was rolled through.  Sorry about the flash - many of these pictures were taken at the museum through glass!
     I will continue with the next step onthe next Whitework Wednesday.  In the meantime, I am including a few more pictures of some whitework samples!


     Technically not whitework, since colors were used, but beautiful, none the less!  I bought this in a shop in Funchal - it is a doily aith cutwork edges and cutwork, satin stitch, and eyelets throughout.  You can see the little silver gremio seal (more about that in the future) that is attached to the end.


     This is a picture of the WRONG side of the doily - their work is almost as good on the back as it is on the front!


     A round table runner (much bigger than what you would think of as  a doily - it is about 20 inches wide)  with a beautiful edge!  I picked this up at an antique mall.

Until the next Whitework Wednesday!

My September newsletter was just posted and sent out.  If you did not receive the email link, you can go to
www.vaune.com and click on the newsletter link.

Happy Stitching,
Vaune


Wednesday, September 19, 2012

Whitework Wednesday

       Whitework Wednesday........

     I was reading through the new Royal School of Needlework's Essential Stitch Guide on Whitework (looooooong title for a great new little book - see my website!) when I started thinking about my whitework 'things' - books, trips, samples, etc.  Since this is Wednesday, I thought I would use an alliteration (yes, I was subbing in 4th grade this week) and start a Whitework Wednesday.  I will be posting different odds and ends about Whitework over the next several Wednesdays, so check in often!


     I have always loved Whitework, even before I actually knew what it was!  White on white is beautiful, and it can be as delicate as Ayrshire work, or as heavy as candlewicking.  I prefer the 'delicate' look, so most of the things that I will talk about or show will be along the lines of Ayrshire or Madeira embroidery.  Many different stitches are used. Eyelets, padded satin stitch, trailing, cutwork, granitos, pulled thread and drawn thread are some of the most common stitches you will see.


     This is one of a set of 8 napkins that I picked up at an antique mall.  The edge is cutwork, and the floral design consists of padded satin stitch leaves, eyelets and granitos. 


     Even better, the napkins came in an embroidered lined sacque, to keep them all in place.  The front flap on the sacque (see above and below) is more detailed than the napkins, including a beautiful bow!


     The white on white scheme may sound boring, but in actuality, you are using the stitches to give your work depth, pattern, texture, and visual interest.  It can also give you more room to play around with designs, as you are not limited to a particular color.
     I am going to list several of my favorite books on whitework, even though many of them are not available any more.  I often run across used copies, so if you are looking for one, let me know and I will keep my eyes open.


     This is an excellent book on Ayrshire Needlework from Agnes 'Bunty' Bryson.  I was very fortunate to be able to take a class from her on one of my trips to Madeira (stopover in Scotland)!  The book is out of print, but you can find copies now and then.


     A-Z of Whitework is one in the A-Z series from Country Bumpkin.  This book is Out of Print (also known as OOP).  None of the distributors have copies in stock, including Country Bumpkin themselves!  Some shops may still have a copy, but they are becoming extremely hard to find!


     This is one of the original titles on Madeisa embroidery.  It is also out of print.  I love to look through it - some of the workes in the pictures were the same embroideresses that worked with us when we took lessons there! 


     Susan O'Connor has done a beautiful job with this book - wonderful monograms and embroidery stitches for use on enything!  This book has recently been added to the OOP list.  If it one you want, check with your local shops, as the distributors do not carry them anymore.
 
 
     Perfection, Never Less is the story of Very Marghab, who started an embroidery factory that produced some of the fines embroidered lines from Madeira.


     This is perfection!


     Another piece of beautiful work!


     Lillie's book is the final book on my list (for now).  She was on my first trip to Madeira and she has gone back several times.  She has a wonderful collection of Marghab embroideries (Marghab produced some of the finest lines from Madeira).

     In the coming weeks, I will talk about the books and post pictures and samples.  I am digging through my photograph boxes for the photos that I took on my trips.  The first visit I spent an arm and a leg on pictures, most of which did not turn out.  Digital cameras were just coming out - the basic 3 Mpixel camera was about $1000, so we just used our old 35mm!

If you have questions or want to see something in particular, let me know!
Happy Stitching,
Vaune


Thursday, September 6, 2012

L.A. International Textile Show

  L.A. International Textile Show


     Coming in October!  I just got my information email with a link to the Seminar Schedule.  It will be here before I know it!  The LA International Textiles Show is a twice yearly show for the 'Trade' (businesses that work with fabric).  It is held in the California mart Building, in downtown LA.  There is a wonderful book store there (feeds FIDM, Parsons, and LA Trade Tech students, as well as the 'trade') and they have a great sale during the show.


     One of the 'trends' that is hot right now is chevrons (hmm... can anyone say smocking stitch?!).  Here are a few examples of chevron fabrics.


     Here is a picture from Moda Artisans, showing their embroidered couture fabrics.  I can't wait to see all of the fabric.  Even better, it is not just eye candy, but finger candy too, as you get to touch and feel the samples!
     I make a point to see Fabric Finders and Riley Blake, as well as Henry Glass, Michael Miller, and Robert Kauffman booths.  Definately overload.  I will just be back from the SAGA convention, and at the end of the week is ETAC in Orange County.  I know September is National Sewing Month, but for me, October is my Sewing Month!!!
     Fall/Winter 2012-13 are the focus, although there will be some seminars that will talk about forecasts for '14.
I will take pictures and share everything with you!

Happy Stitching,
Vaune


Sunday, September 2, 2012

Buttons and Back Yoke Tutorial

    Buttons and Back Yoke Tutorial

     One way of making your 'creation' your own is to personalize it by choosing unique buttons.  Whether you find some funky buttons in a store or create your own, they can really add something special to your garment.  Please keep in mind, though, that the garment was designed for a specific size of button.  If the buttons that you want to use are not the same size, there is a minor alteration to the pattern that you need to do, to keep everything in line.


    This a picture of a back yoke, with the center back marked and the buttons placed.  Here is the thing to remember:

***The buttons need to be the same size as the lap!***

Lap = the distance from Center Back(or Front,etc.,  if buttons are on the front) to the vertical edge of the fabric

If the pattern calls for 3/8" buttons, then the lap will be 3/8".  When you are gathering your fabric and notions to make your garment, you really should choose your buttons at the beginning of the process.  If your buttons are larger than what the pattern calls for, then you need to adjust the pattern before you cut it out.

     The alteration is pretty straightforward.  First, measure the width of your button.  Next, find the measurement that your pattern calls for.  If the pattern does not give a specific button measurement, take the back yoke pattern piece and measure the distance between the CB and the edge of the bakc yoke.  This is the button measurement that the pattern was designed for.
     Once you have these 2 measurements, are they the same?  if not, you will need to add or subtract from your back yoke BEFORE you cut it out.

Example:  If the garment calls for 3/8" buttons and your buttons are 1/2 inch, the difference is 1/8".  You will need to redraw the back yoke, ADDING 1/8" to the lap.  Remember, you will need to do this for all of the Back Yoke pieces (back yoke/backyoke lining pattern if you are cutton on a fold, or the Back yoke and back yoke lining pattern pieces it cut separately).

     Once you have made this alteration, your Center Backs should line up, allowing your buttons and buttonsholes to be aligned.

If you have any questions, let me know!

Happy Stitching,
Vaune