When sewing or stitching, you are at some point going to have to mark your fabric. Different fabrics and end results determine what you use and how you make your marks. Fortunately, there is a wide variety of notions available to accommodate all types if fabric!

To start with is my tracing tool. If I want to transfer marks from a pattern to my fabric, I can place some type (see below) of tracing material on top of of the fabric and run the tracing wheel over the marks. This makes very clean, exact lines on the fabric. The tracing wheel above has a 'comfortable' handle, but they come in several different versions.

This model I got in the LA garment district - and it means business! The spikes are longer and sharper and can be used on heaver fabric, as well as tag paper. I DON'T use this on fine fabric!

If you are in the beginning stages of creating a garment and need to make a muslin (a practice garment to adjust for size), waxed tracing paper works very well.
**Please note: Waxed tracing paper is hard to remove! **
This is a good example of knowing what you need and using the right tool. When making a muslin, you will be working with the fabric pattern pieces and making marks on them for fit. You will probably even use the marked fabric as pattern pieces. Because of this, you need to be able to mark it so that the marks do not brush away or disappear with heat or water. This is a staple in a dressmaker's tool box! You can usually find it in 4 different colors. Keep it rolled up and in a plastic bag so that it doesn't get all over anything.

Here are 2 colors of marking wax - and yes, they are wax so they are not going to come off! They come with one side honed to a fine edge (the left side here) and the 2nd side (the right side) is a bit thicker.
If you want to do a lot of marking and need it to be able to be removed, then you want to use unwaxed tracing paper.

There are several chalk type pencil marking tools that can be used as well as the tracing paper.

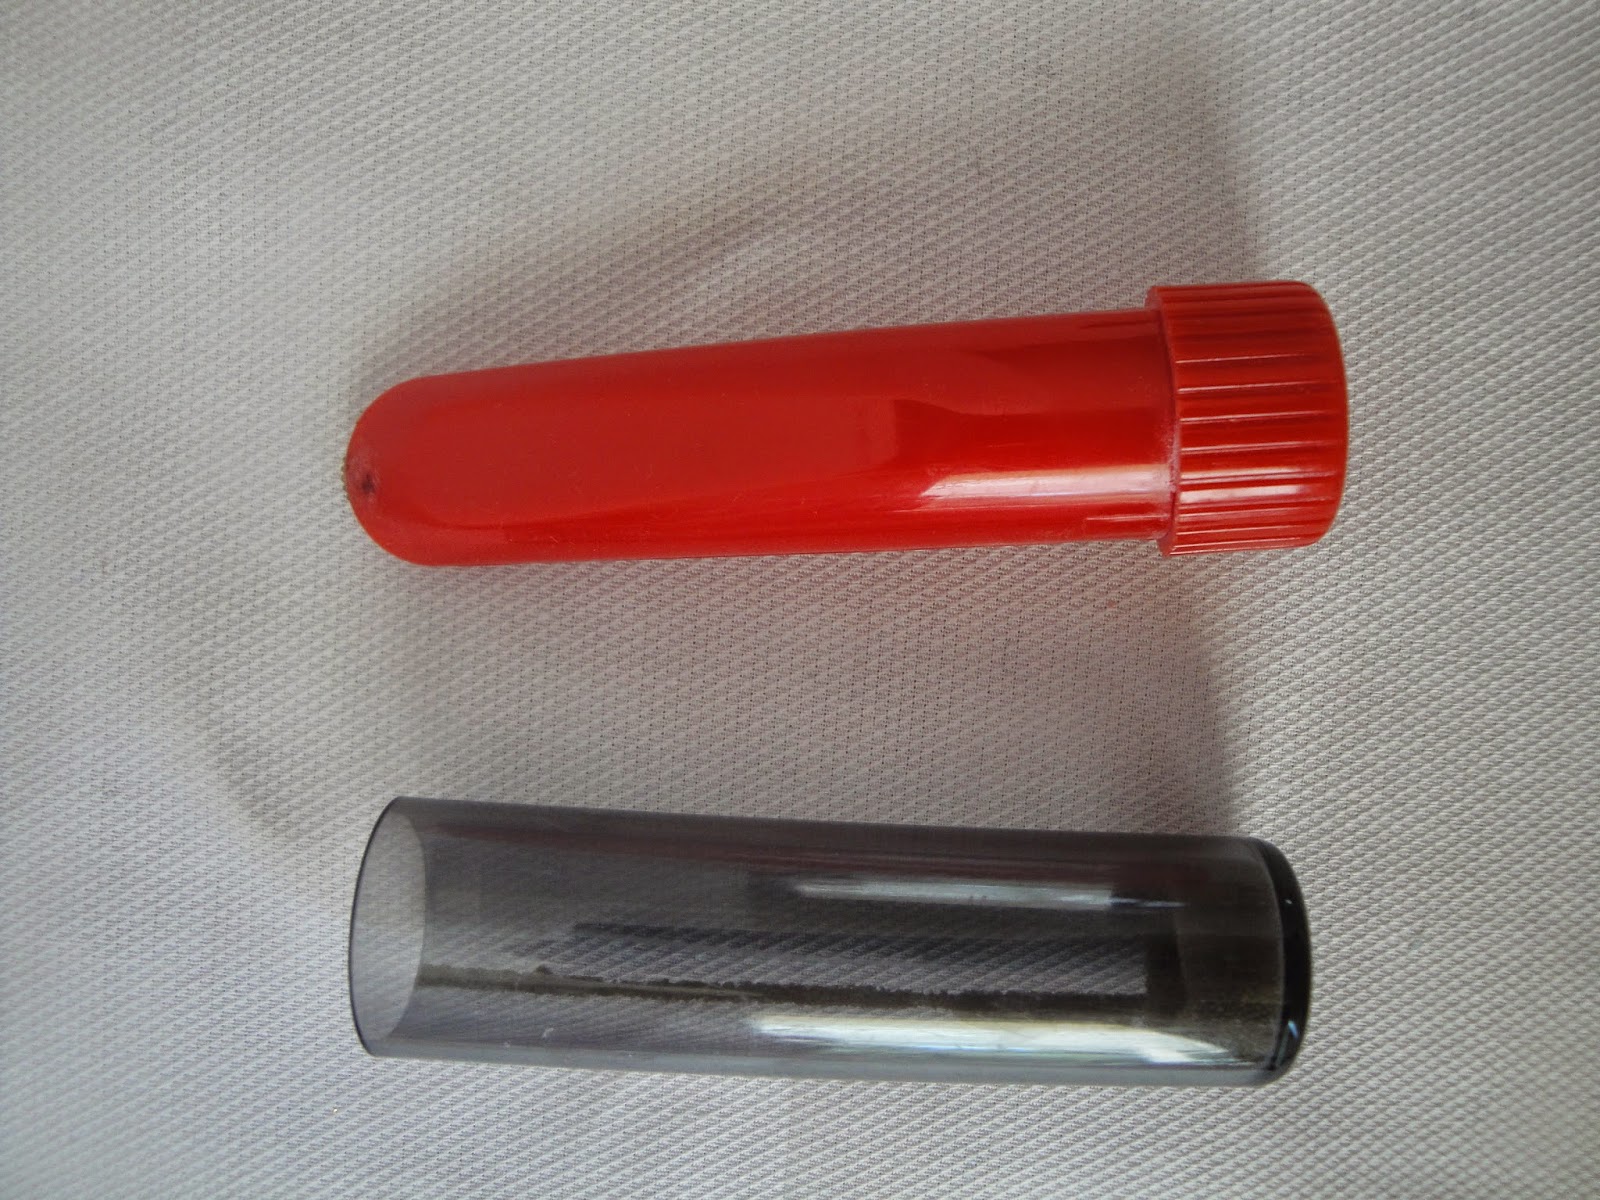
These chalk wheels have a screw bottom that you can take off to refill the pen. At the opposite end, there is a tiny slot with a slim metal wheel. When you run the wheel over the fabric, a fine line shows up. You can get different colors of chalk - white, red, yellow, blue. This chalk brushes off fairly easily, so keep that in mind.


This is a chalk pencil from Bohin - it has a fairly fine lead (.9mm). The lead also comes in several colors, which is helpful.

This white chalk pencil also has a lead that is on the fine side. I picked this up when I was in the garment district in NYC. I will note that I have several different white marking tools. I don't use white that often, as most of the sewing that I do is not on dark fabrics. However, when I DO need a to mark in white, I like to have choices. Sometimes one works better than the other, and I want to make sure that I have something that will work.

A washable Dixon marking pencil can also be used, and can be washed out. The lead is a bit thicker, so not the best choice for fine line tracing.
As you can see, there are many, many choices for all different situations. Sometimes one works better than the other - it is always good to have options to make sure you can make an accurate marking.
That is all for today - we will continue in the next post, as there is still more to go!
Happy Stitching,
Vaune
No comments:
Post a Comment